Why Composting Matters
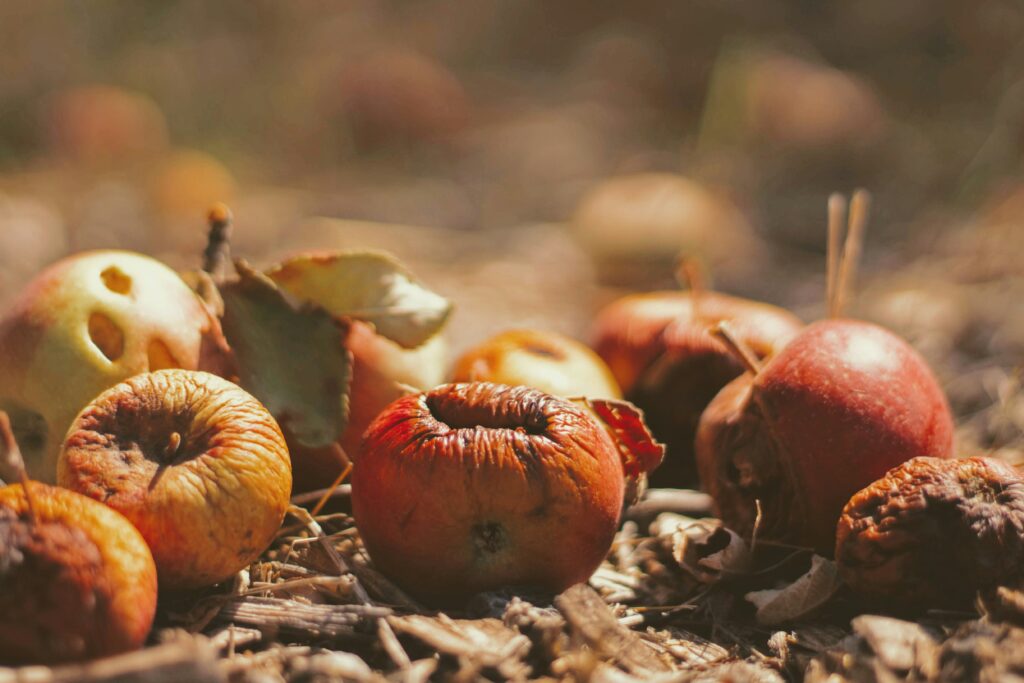
Food waste doesn’t just vanish when we toss it. Most of it ends up in landfills, where it rots and releases methane—a greenhouse gas with more than 25 times the warming power of CO₂. In short, our leftovers are quietly accelerating climate change. On top of that, the water, energy, and labor it took to grow, transport, and store that food all go to waste.
Composting at home is one of the simplest, most direct ways to push back. Instead of sending scraps to the dump, composting turns them into nutrient-rich soil. That means less strain on municipal waste systems and a real boost for your garden, planters, or even your local green space.
Globally, we toss out about 1.3 billion tons of food every year. In the U.S. alone, food makes up nearly 24% of what goes into landfills—by far the largest category. That’s not just a trash problem; it’s a systems problem. Composting won’t fix everything, but it’s a solid place to start.
Good for the planet. Good for your plants. And frankly, not that hard to do.
What Can (and Can’t) Be Composted
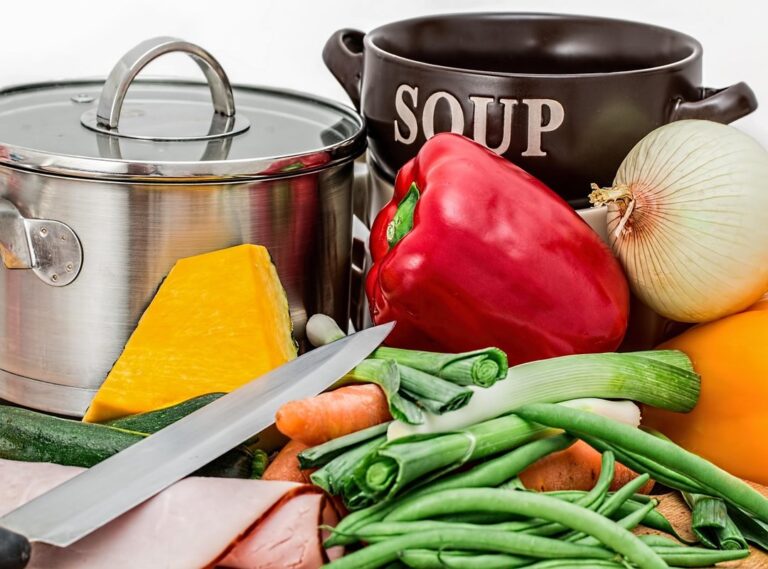
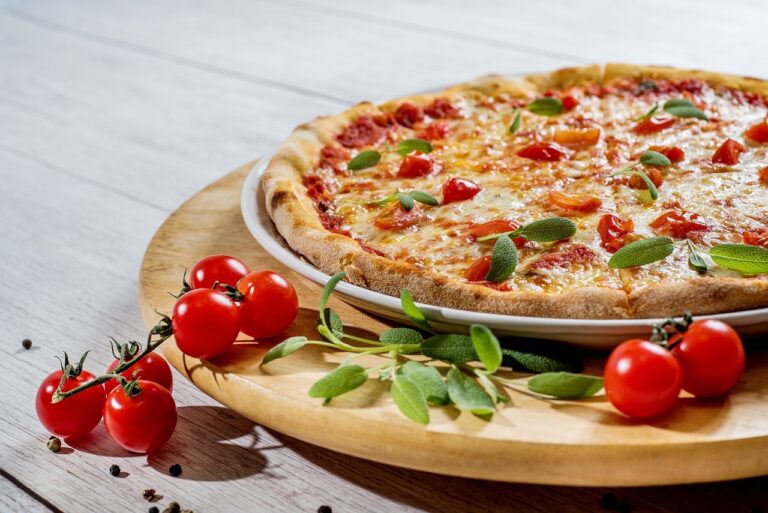
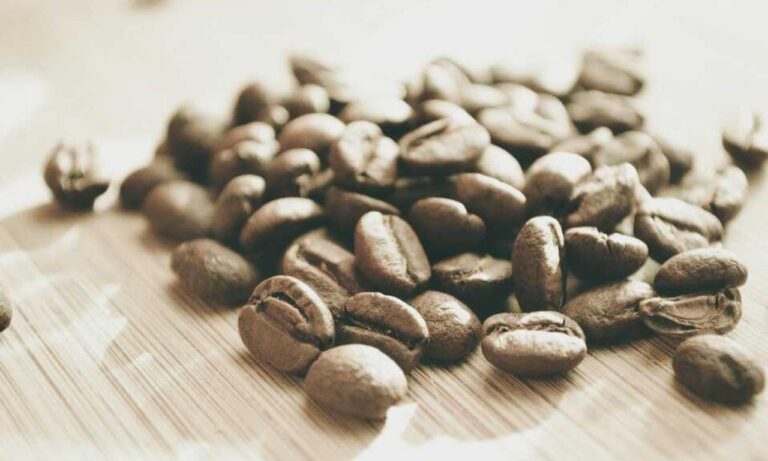
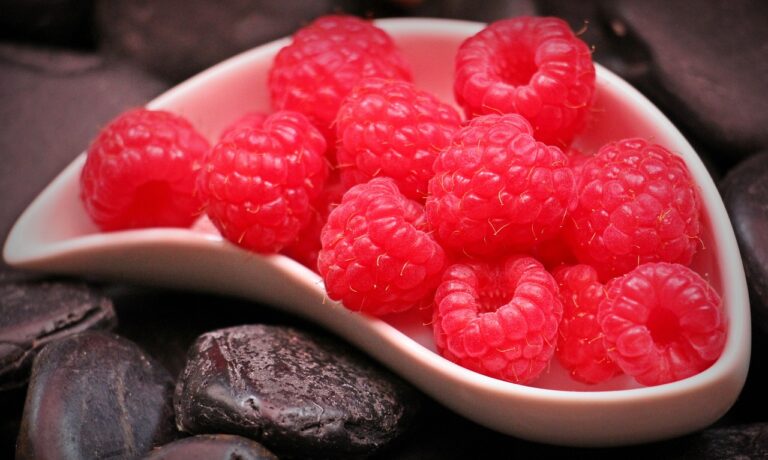
If you want your compost pile to thrive, you need to know what to toss in—and what to keep out. Start with the safe bets: fruit scraps, veggie peels, coffee grounds, tea leaves, eggshells, and old flowers are all welcome. These break down fast and add good nutrients to your mix.
Steer clear of meat, dairy, oily foods, and anything processed with plastic or synthetic coatings. These not only slow down the decomposition process, but they also attract pests and cause bad smells. When in doubt, leave it out.
Now the tricky part—the balance. Compost needs a mix of greens and browns. Greens are your fresh, moist items like food scraps and grass clippings. They bring nitrogen. Browns include dry leaves, shredded cardboard, and paper. They add carbon. Too many greens, and your pile gets soggy and smelly. Too many browns, and it stalls. The goal? Roughly two parts brown to one part green. Keep it even, and the microbes will do the rest.
Composting Methods for Beginners
Composting isn’t one-size-fits-all. The good news? You’ve got options—whether you have a backyard or not.
If you have outdoor space, backyard composting is the most straightforward route. You can go basic with a pile in a corner, or upgrade to a bin or tumbler for tidier, faster results. Bins keep things contained. Tumblers speed up decomposition with less effort—just give them a spin now and then. Open piles? Great if you don’t mind nature being… nature.
No yard? No problem. Indoor countertop solutions are gaining traction. Bokashi bins use microbes to ferment scraps, even meat and dairy. Minimal smell, small footprint. Electric composters go a step further—they grind, heat, and dry your waste into soil-like material in just hours. Great for apartments or tight kitchens.
What you choose depends on your space, your time, and your tolerance for mess. The key is picking a method that fits into your routine, not the other way around. Set reminders, keep scraps close to your prep area, and don’t guilt yourself if you miss a day. Just keep going. Consistency beats complexity.
Start simple. Adjust as you go. Composting doesn’t have to be perfect—it just has to happen.
Step-by-Step Composting Process
Composting isn’t complicated, but it does follow a rhythm. First, start your pile with the right balance: a layer of brown materials (think dry leaves, cardboard, shredded paper) and a layer of green materials (like veggie scraps, coffee grounds, fresh grass clippings). Browns provide carbon, greens add nitrogen. Alternate layers as you add waste. Too much green? It starts to smell. Too much brown? It slows down.
Once you’ve got your layers going, it’s all about upkeep. Compost likes air, not suffocation. Turn the pile every 1–2 weeks to keep the oxygen flowing and the microbes working. You’re aiming for a sponge-like moisture level—damp but not soaked. If it’s too wet, toss in more browns. Too dry? A light watering does the trick.
A healthy compost smells earthy, not sour. You’ll see steam in the early stages, and materials break down into dark, crumbly humus. If it’s slimy or attracts pests, something’s off—usually too many food scraps or not enough browns and airflow.
From veggie peel to garden gold, the whole process takes anywhere from two months to a year depending on your method, mix, and maintenance. Fast composting happens with good balance, regular turning, and a little bit of patience. No shortcuts, just steady rhythm.
Using Your Finished Compost
Once your compost has broken down into dark, crumbly, earthy-smelling material, it’s ready to use. Here’s how to make the most of your finished compost:
Where and How to Apply Compost
Compost is a powerful soil enhancer, and you can use it in several ways around the home and garden:
- Garden Beds: Mix compost into vegetable or flower beds to enrich the soil and boost plant health.
- Houseplants: Add a thin layer to potted plants to slowly release nutrients.
- Lawn Care: Spread compost lightly over your lawn to improve moisture retention and grass vitality.
- Tree and Shrub Base: Apply around the bottom of trees or shrubs to feed roots and suppress weeds.
Storage Tips When You’re Not Ready to Use It
If you’re not applying your compost right away, store it properly to maintain its quality:
- Keep it covered: Use a tarp or a sealed bin to protect compost from excess moisture or drying out.
- Choose a dry, shady area: This helps maintain a steady environment and prevents over-composition.
- Avoid compacting: Loose compost allows for airflow and prevents odors from developing.
Closing the Loop in Your Kitchen
Using your own compost creates a sustainable cycle right in your kitchen. Food scraps become compost, which you then use to grow herbs, veggies, or houseplants—and those in turn can end up back in your meals.
It’s a practical, impactful habit that reduces waste and contributes directly to a healthier home environment.
Related Tip: Choosing the Right Kitchen Equipment for Your Needs—streamlining your kitchen can reduce waste before it even starts.
Common Mistakes to Avoid
Even with the best intentions, composting can go sideways fast if you’re not paying attention to a few basics. One of the biggest rookie errors? Overloading your pile with one type of waste. Too many fruit scraps or coffee grounds without enough dry browns (like paper, leaves, or cardboard) will upset the balance. Composting is part science, part rhythm—you want a mix of nitrogen-rich “greens” and carbon-rich “browns” to keep things breaking down smoothly.
Another common pitfall: poor moisture control. If your compost is too wet, it turns into a slimy, smelly mess. Too dry? Microbial action stalls and nothing decomposes. Rule of thumb: aim for the feel of a wrung-out sponge. If it’s dripping, it’s too wet. If it’s stiff and dusty, add some greens and water.
And then there are the pests. Rats, flies, and raccoons don’t care about your composting goals—they just want a buffet. To keep critters out, avoid tossing in meat, dairy, and greasy leftovers. Cover new additions with a layer of browns, always close lids tightly, and if things get out of hand, consider a secured bin or tumbler system. Composting isn’t hard—but ignoring the basics can make it a headache.
Final Takeaways
You don’t need a backyard or special gear to start composting. A small apartment, a single bucket, and a bit of attention is enough. Countertop composters, freezer scrap bags, bokashi bins—there are more compact options now than ever, and they actually work.
Most people avoid composting because they think it’s gross, hard, or pointless. It’s not. When done right, it doesn’t smell, it doesn’t take much time, and it keeps pounds of food out of the landfill every month. That alone is worth it.
The bonus? Your plants notice. Compost rebuilds tired soil, helps keep moisture in, and makes gardens (even two pots on a fire escape) healthier. One small shift in your kitchen routine becomes a long-term win for your home—and the planet.


 Thalira Tornhanna, the visionary founder of Food Smart Base, established the platform with a passion for transforming the way people engage with food. Guided by her dedication to health, innovation, and culinary education, she created a resource that not only delivers industry news and nutritional advice but also inspires better cooking practices and highlights emerging food trends. Through her leadership, Food Smart Base has become a trusted hub where readers can discover practical knowledge and fresh ideas that empower them to make smarter choices in their daily lives.