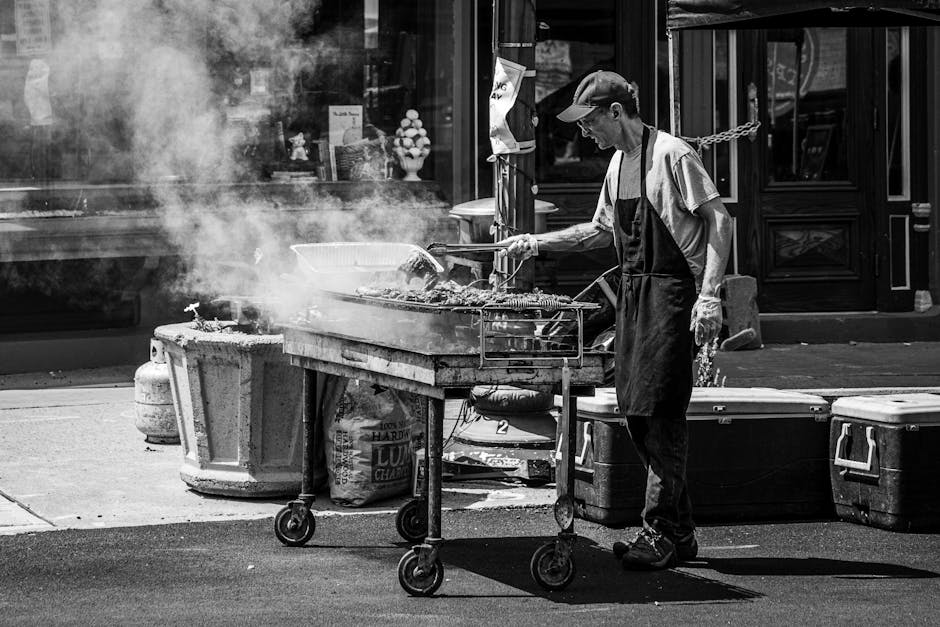
Introduction: Grilling Is a Skill—Not Just Heat and Meat
Great BBQ isn’t about tossing patties on a grill and calling it a day. It’s detail work. It’s patience. It’s knowing your fire like a living thing. While backyard amateurs chase a quick sear and hope for the best, seasoned grillmasters treat every cook as a craft. They understand what protein needs to open up, when flames should kiss the meat and when indirect heat should take over. They don’t guess—temperature, timing, and technique are all intentional.
The difference comes down to control. Amateurs usually cook around the fire. Pros command it. They layer flavors with rubs that weren’t rushed. They rest the meat. They don’t panic during flare-ups—and they know the power of restraint, like when to skip the sauce until the final minutes or let smoke work subtly in the background.
Real BBQ is simple, but not easy. That’s the point. The shortcut is doing it right the first time.
Choosing the Right Grill Setup
There’s no universal best grill—what works for one cook might frustrate another. Here’s the breakdown:
Charcoal brings the smoke and the soul. It takes patience and a bit of skill, but the payoff is flavor depth you won’t get from a dial. It’s great for sears, smoking, and that campfire vibe. The downside? Longer startup time, more cleanup, and less precise temperature control.
Gas is about control and speed. Turn the knob, fire it up, and you’re cooking in minutes. It’s ideal for weeknight grilling or if you’re juggling other tasks. You lose a bit in flavor intensity, but the consistency is hard to beat.
Pellet grills are the hybrid. They run on compressed wood pellets and give you the smoky flavor of charcoal with some of the control of gas. They’re electric, which means you’ll need a power source, but the payoff is solid smoke flavor and set-it-and-forget-it simplicity.
Next: gear. A solid pair of long tongs, a reliable digital meat thermometer, and heavy-duty gloves aren’t optional—they’re essential. Add a chimney starter for charcoal setups, grill lights for nighttime cooks, and a basting brush that won’t shed bristles mid-session.
As for managing temperature zones: divide and conquer. On a charcoal grill, pile the coals to one side for direct vs. indirect heat. On gas, keep one burner off. Pellet grills do most of this balancing for you, but you still need awareness. Knowing where your hot and cooler spots are—and when to move meat between them—is how you stop overcooking and start cooking like a pro.
Technique #1: Mastering the Heat
Understanding heat—how it moves, how to control it, and when to shift strategies—is the backbone of great grilling. Too many beginner mistakes come down to heat mismanagement, not poor ingredients. Here’s how to master the flame like a pro.
Direct Heat vs. Indirect Heat
Knowing when to sear and when to slow things down can mean the difference between delicious and disappointing.
- Direct heat is when food cooks right over the flame or coals. It’s ideal for:
- Burgers, hot dogs, steaks, and thinner cuts
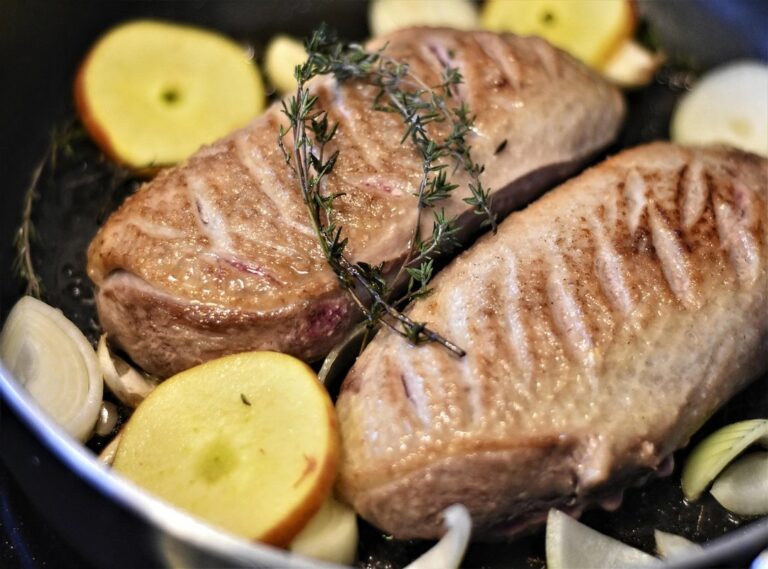
- Getting a good sear and appealing char lines
- Cooking fast and hot (425°F and up)
- Indirect heat is when food cooks next to—not directly over—the flame. Best for:
- Thick cuts like roasts, whole chickens, and ribs
- Avoiding a burnt exterior with a raw interior
- Low and slow cooking (250°F–350°F)
Set up a two-zone grill so you can use both methods as needed without moving food off the grill.
Preheating: The First Step Too Many Skip
Don’t treat your grill like a stovetop that heats instantly. Preheating matters more than you think.
- Allow at least 10–15 minutes for your grill to reach target temperature
- Helps burn off old residue and sanitize cooking grates
- Ensures even cooking, prevents sticking, and enhances flavor development
Tip: With charcoal, wait until the coals are white-hot and lightly ashed. With gas, use a thermometer or built-in gauge.
Controlling Flare-Ups
A little flame adds flavor. A full flare-up? That’s a recipe for incineration.
- Prevention techniques:
- Trim excess fat from meats
- Don’t overload the grill with greasy marinades
- Maintain a clean grill to reduce buildup
- During a flare-up:
- Move meat to indirect heat or a cooler zone
- Close the lid to smother oxygen temporarily
- Avoid spraying water—it just splashes ash and spreads grease
Stay calm, stay in control, and use your vents and zones to manage fire like a pro pitmaster.
Technique #2: Know Your Meat
Not all cuts are created equal—some are meant for searing heat, others for slow, smoky patience. Brisket, ribs, pork shoulder, and steak are four cuts that show what great grilling’s made of. Brisket and pork shoulder need time and low temps to break down connective tissue. They’re not fast—but they’re rewarding. Ribs demand balance: enough smoke and heat to render fat, never enough to dry them out. And steak? That one’s about precision. High heat, quick sear, no guesswork.
Before you hit the grill, think flavor. Dry rubs bring texture and a flavor crust, especially when applied hours before cooking. Marinades soak in deeper, but don’t overdo the acid—especially with tender cuts. And always season with purpose. Salt too early and you risk pulling moisture. Best bet: dry rubs in advance, final salts closer to the fire.
One more thing: let your meat rest. Pull it off the grill and walk away. Ten minutes minimum. This gives juices time to redistribute instead of spilling all over your board. It’s the easiest step to get right—and the first one most people skip. Don’t.
Technique #3: Timing and Temperature
You can have the best cut of meat and the most expensive grill on the block, but screw up the temperature, and it’s game over. Grilling is about control—especially when it comes to internal temps. For juicy burgers, you’re aiming for 160°F. Chicken? 165°F, no shortcuts. Medium-rare steak? Pull it at 130°F and trust the process. The goal is hitting that window where meat is safe to eat but still tender and loaded with flavor.
This is why a digital meat thermometer isn’t a nice-to-have—it’s non-negotiable. Stick it in the thickest part of the meat, and you’ll know exactly where you stand. No guessing. No cutting things open and bleeding out all the moisture. Precision tools lead to repeatable results, and repeatable results are what make a grillmaster.
Also—understand carryover cooking. The meat keeps rising in temp after you pull it off the heat, usually by 5 to 10 degrees depending on the cut. So take it off a little early, let it rest, and let science do some of the work for you. Resting also redistributes juices, which means flavor instead of a puddle on your cutting board.
Nail this, and you’re halfway to legendary status.
Technique #4: Smoke Like You Mean It
Wood is more than fuel—it’s part of the recipe. Choosing the right wood can elevate your BBQ from backyard decent to downright crave-worthy. Cherry wood brings a subtle sweetness that plays well with poultry and pork. Hickory hits harder, ideal for ribs or brisket if you’re after that big, bold smoke punch. Mesquite is intense—great for beef, but easy to overdo if you’re not careful. Think of wood like seasoning: balance matters.
Controlling smoke level is about airflow and patience. You want thin, blue smoke—never thick and billowing. Over-smoking turns meat bitter, like it’s been through a chimney. Keep your fire steady and your wood dry. Soaked chips? Skip them. They smolder more than burn, and it’s clean combustion that gives flavor, not clouds of steam.
Now, the smoke ring: cool to look at, but not the gold standard. That pink halo under the crust shows your meat interacted with smoke early on, before cooking sealed it up—but it doesn’t guarantee taste. Focus more on flavor and tenderness than chasing that Insta-worthy ring.
Smoke smart. Taste always beats show.
Technique #5: Low and Slow
Tougher cuts like brisket, pork shoulder, and ribs aren’t built for quick sears. They’re full of connective tissue, and that takes time—real time—to break down. That’s why low and slow wins. When you dial the heat down and stretch out the cook, magic happens: collagen melts into rich gelatin, meat turns fork-tender, and flavor seeps into every fiber.
This isn’t about killing hours just for the sake of it. Slow-cooking on the grill is surgical patience. You control the temp, monitor the smoke, and keep everything steady. That long, steady heat coaxes depth out of meats most folks would write off as chewy or dry. Done right, it’s the most satisfying kind of transformation—a rough cut turning into BBQ worth bragging about.
Put simply: speed dries out meat. Slow builds flavor.
Want to dive deeper? Check out The Benefits of Slow Cooking and Best Practices.
Avoiding Rookie Mistakes
Let’s get one thing straight: most grilling fails aren’t about lack of skill—they’re about impatience. Here’s what to stop doing if you want to actually enjoy what you’re serving.
Flipping too often Leave it alone. Meat needs uninterrupted contact with the heat to develop a good sear. Constant flipping doesn’t speed things up—it just messes with texture and makes you look nervous. Flip once, maybe twice. That’s it.
Overcrowding the grill More isn’t better. When the grill’s packed, heat drops and air can’t circulate. You end up steaming or unevenly cooking your food. Give each item some breathing room—and keep that control zone clear so you can move things around when flare-ups hit.
Saucing too early Barbecue sauce is loaded with sugar. Put it on too soon, and it’ll burn before the meat’s ready. Wait until the final minutes of cooking to brush it on, then watch it caramelize properly without torching.
Not letting the grill clean itself A hot grill cleans itself better than you ever will with a wire brush. After cooking, crank the burners or leave the coals burning with the lid down. Five or 10 minutes does the job. Then give it a quick scrape once it’s cooled down a bit. Don’t skip this—it’s the easiest way to keep your gear sharp and your food tasting clean.
Final Pro Tips
Grilling mastery doesn’t end with meat. Sharpen your edge with these final, often-overlooked techniques that separate the good from the great.
Let the Meat Breathe
After it’s cooked, your instinct might be to cover the meat to keep it warm. But resist the urge to trap it under foil or lids right away.
- Letting meat rest uncovered allows steam to escape
- Trapping steam can soften bark or crisped textures
- Resting time also lets juices redistribute evenly for better flavor
Keep your cuts flavorful and texturally perfect by giving them a few minutes of breathing room.
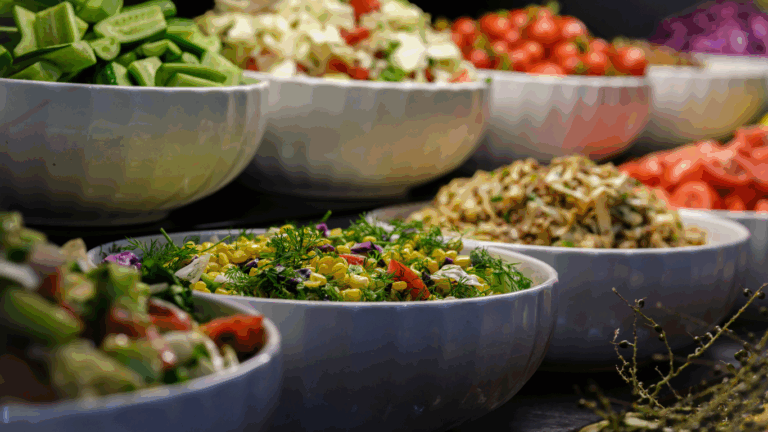
Go Beyond the Meat
Grills aren’t just for ribs and steaks—some of the most surprising (and delicious) grilled flavors come from unexpected places.
Try tossing these on the grill:
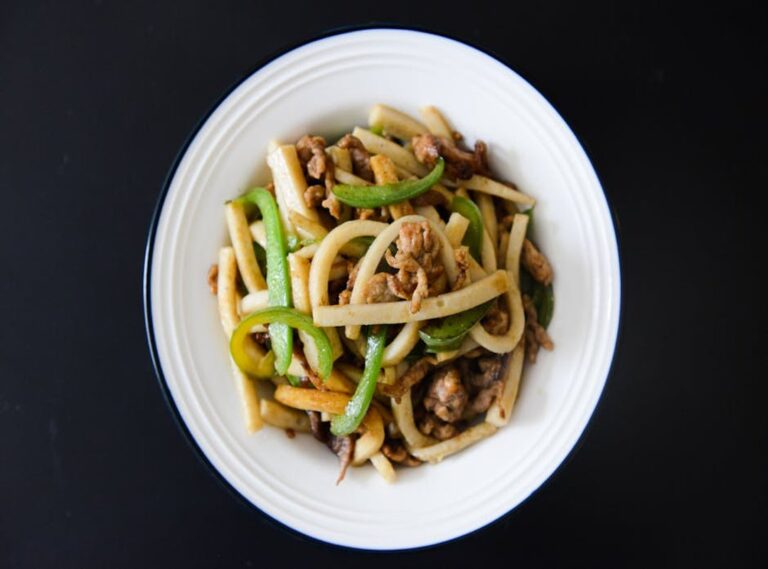
- Vegetables: Bell peppers, zucchini, corn on the cob, portobello mushrooms
- Fruits: Pineapple, peaches, watermelon slices
- Sides: Skillet mac and cheese, foil-pack potatoes, grilled flatbreads
Open flame adds a new layer of texture and smokiness that changes the game for even the simplest ingredients.
Maintain Like a Pro
Great grills don’t stay great without care. Consistent maintenance is key to ensuring your equipment performs cook after cook.
Cleaning and upkeep tips:
- Burn off residue with high heat after cooking
- Brush grates while still warm
- Empty ash or clean drip trays regularly (depending on your grill type)
- Cover your grill when not in use to protect from the elements
Dirty grills not only affect flavor—they can also pose safety risks. Make maintenance part of your grilling routine.
Keep your tools, your grill, and your palate in top shape, and you’ll notice the difference in every bite.
Wrap-Up: Make Every Cook Count
Grilling isn’t about gimmicks. It’s not dumping lighter fluid on coals or hitting the high setting and hoping for the best. It’s about control—of heat, of your timing, of the way flavors stack and settle. The best grillers don’t just know their tools—they run them like an instrument.
But control doesn’t mean rigidity. You learn the rules—preheat, manage zones, rest your meat—so you can break them with intention later. Want to reverse-sear a ribeye over cherry wood? Or slow-cook short ribs on a hacked two-zone setup? Good. That’s the edge you earn from reps, not guesswork.
Bottom line: Don’t chase flashy. Chase flavor. Every cook is a test run for the next one. The more you tinker, the more you taste, the sharper your instincts get. In grilling, like anything worthwhile, mastery comes from showing up, paying attention, and not cutting corners.


 Kennethony McKenna played a vital role in helping build Food Smart Base, contributing his expertise and dedication to the project’s development. His efforts supported the platform’s growth into a reliable source of food news, nutritional advice, and culinary insights, ensuring that it serves readers with both accuracy and value.